During #BRAugust, The Jordy Bralette was blowing up my Instagram feed on the daily. It looked so delicate and complicated though, that I figured I hadn’t quite reached bra making in my sewing journey. For the last two years, I have been willfully ignoring my need for bras and have survived on two Spandex bralettes. I’m cursed with a narrow band size; a large cup size; and a hatred for padding and pushups. Bra shopping has been difficult my whole life. Something kept drawing me back to the Jordy Bralette hashtag though. After an especially exciting episode of The Great British Sewing Bee (and more than one glass of wine), I ordered one of Emerald Erin’s Bra Making Kits.
Not for the first time, I am blown away how sewing my own clothes can improve my life in so many ways. In the past, in order to get a well-fitting bra I’ve had to spend some serious cash. Even when I’ve splurged, I have never found a bra that I really loved and as a result, my top drawer has been looking VERY lean for some time. I’m all for minimalism, but my boobies definitely need some love and pampering. After blindly attempting swimwear, with my Cottesloe Bikini I figured ‘WHY NOT TRY BRAS???’
The Jordy Bralette was all over the internet and the lack of underwire gave me some confidence to give it a go.

Project Details
The Pattern:
The Jordy Bralette by Emerald Erin is described as ‘the ultimate triangle style bralette that every gal needs in her wardrobe’ and I was not disappointed. It comes in three styles, a simple fabric bra, a lace overlay version and a foam-lined version. It seems like a very versatile pattern and I think you could create both sexy and super casual everyday styles with this pattern.
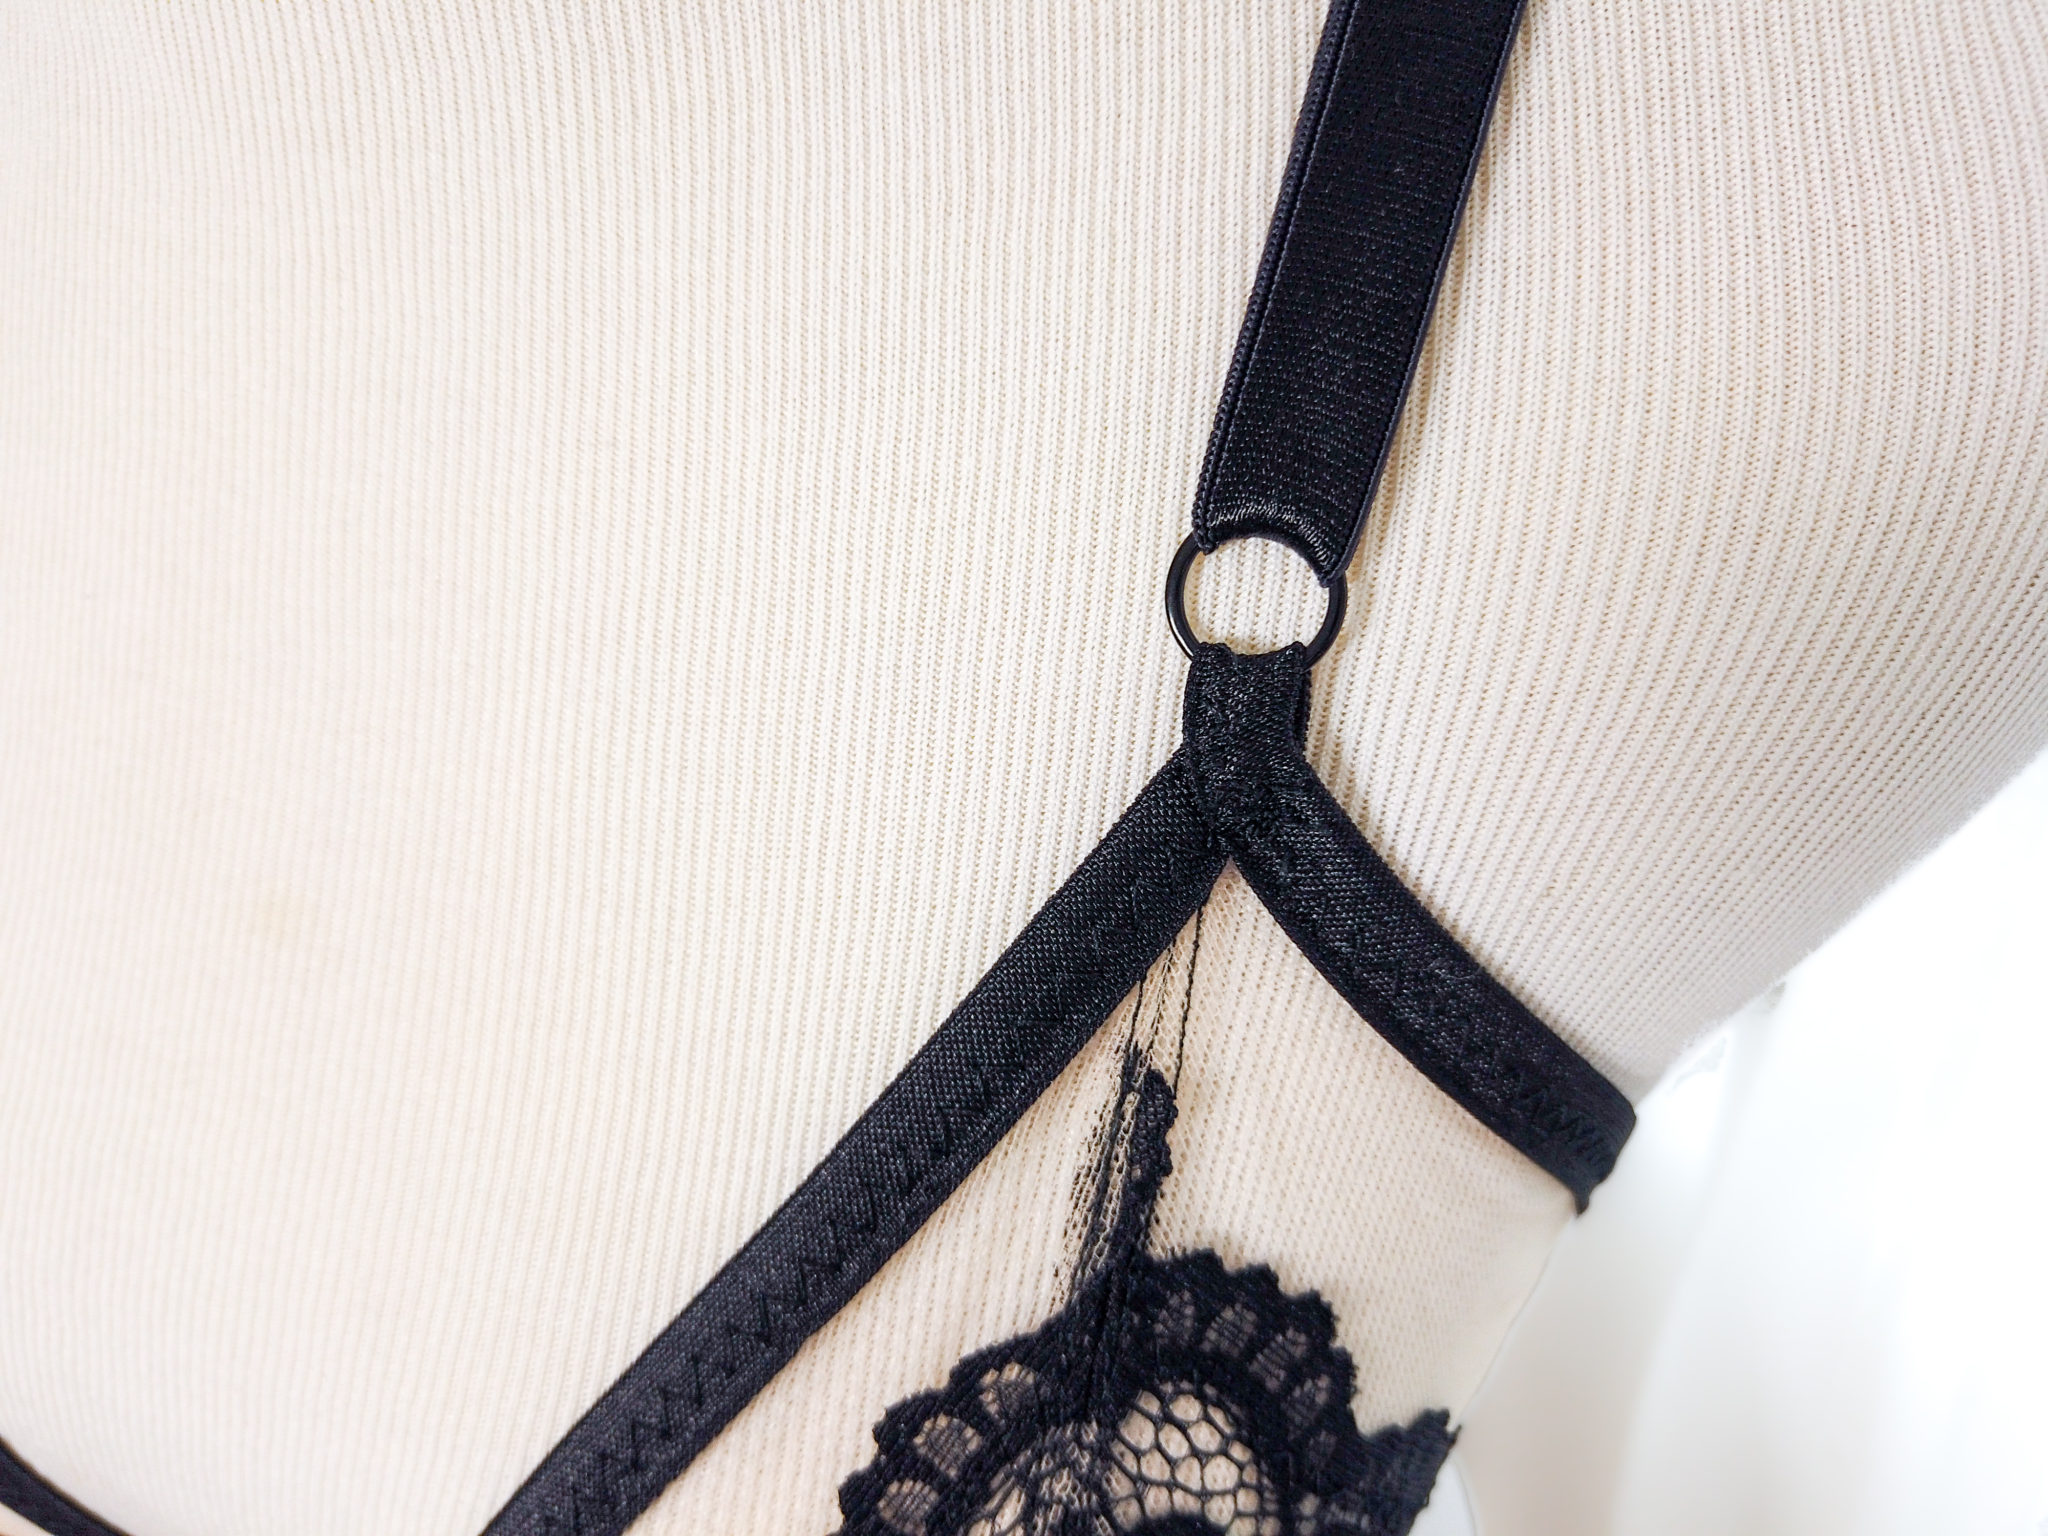
I did have a little bit of frustration with the sizing. In order to find your cup size, the instructions say to subtract your Full Bust measurement from your Under Bust measurement. My Full Bust was 37.4 ” and my underbust was 30″ which left me with 7.4 inches. The cups are sized to every inch and there was no instruction as to whether one should go up or down a size if you fall in between. I chose to round down to the F (7″) rather than up to the FF.
One of the best things about this pattern is the FAB youtube sew-along.
Another question I had was to the ‘stretch’ marked on the patterns. I really wasn’t clear if that was to go on the grainline or the bias. The sew-along video didn’t explain that either but the images in the pattern instructions led me to believe it should be cut on the grainline so that’s what I went with and it seems to have worked out.
- Size Range: 26D – 38E . Find Emerald Erin’s Sizing Guide here.
- Difficulty: This wasn’t indicated on the pattern but I think it’s good for a brave beginner.
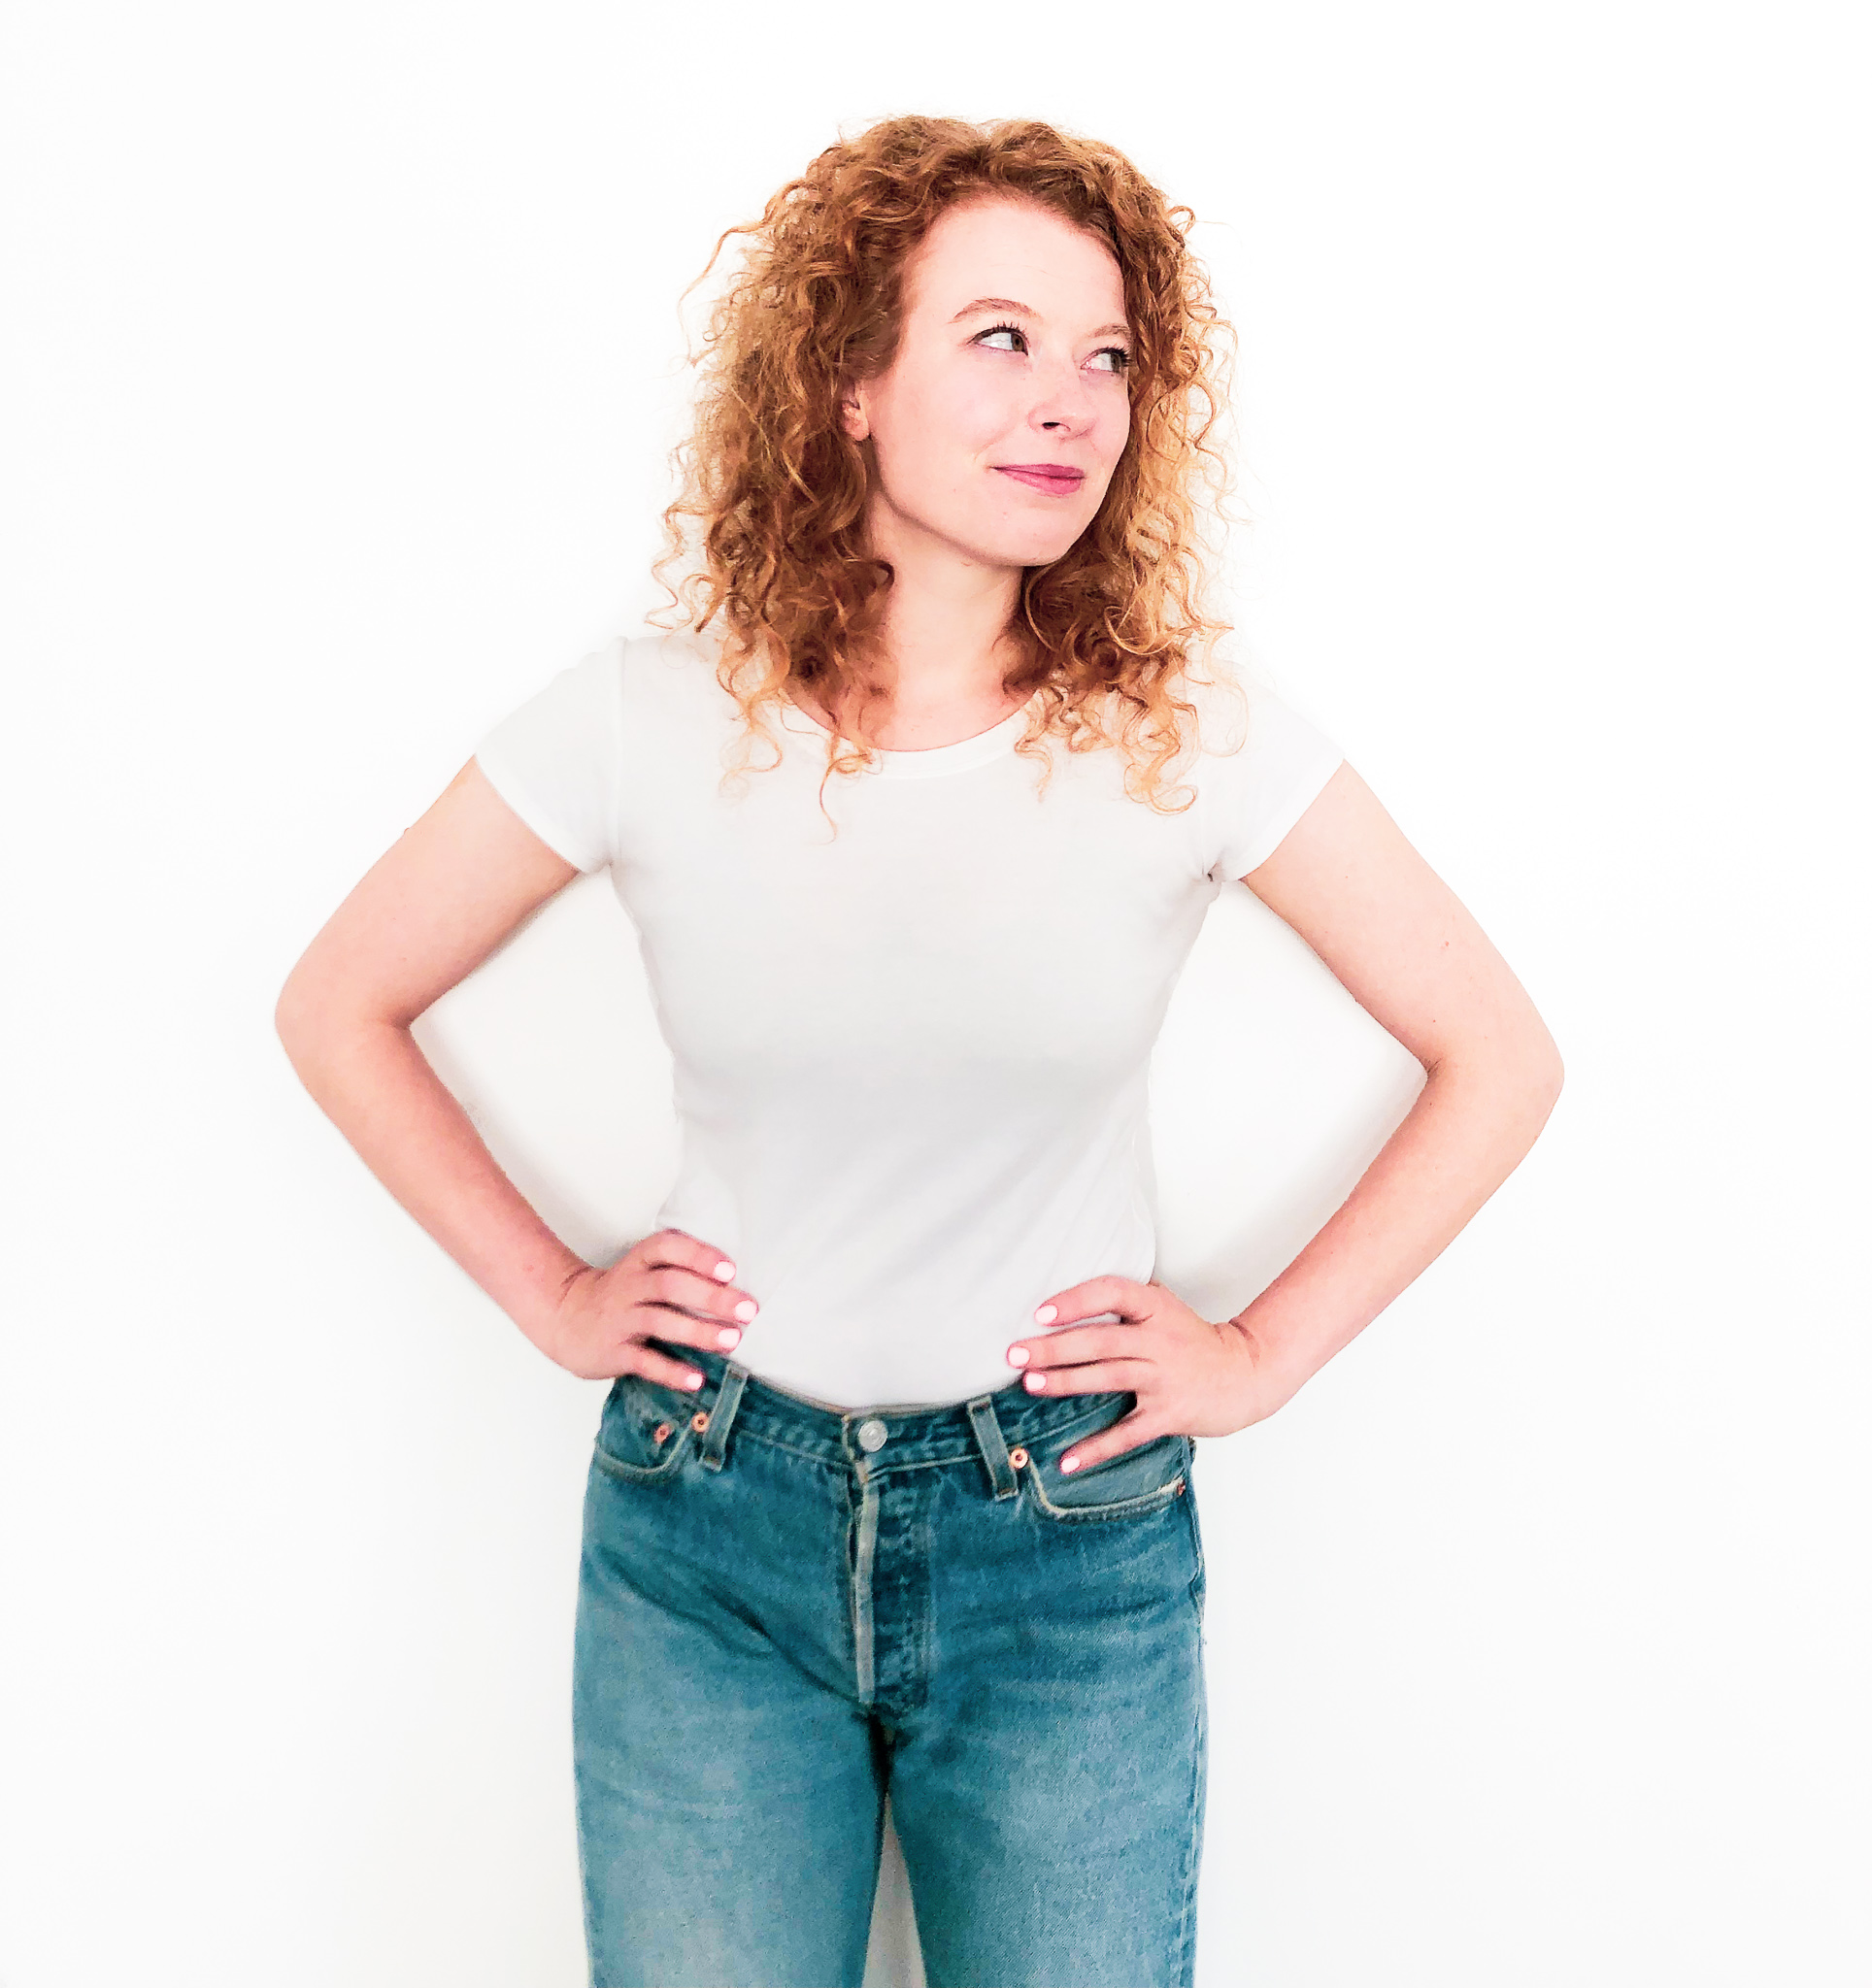
My Jordy Bralette
- Fabric/Notions: My real obstacle for attempting a bra was not knowing all the different bits and pieces that I would need. I’m usually a bit of a frugal shopper but I splurged on one of Erin’s Bra Making Kits so I wouldn’t have to hunt for all the notions at Dressew.
- Size: 30F

What I learned sewing Emerald Erin’s Jordy Bralette
Bra making isn’t as difficult as it seems and there are so many possibilities within this one pattern. That being said, attention to detail is really important. I was a bit of a dumbo with my black stitching on the nude power mesh and those messy stitches are definitely noticeable…. Though I think the only person seeing it other than me, will be distracted anyways. I definitely plan on making one of these bralettes in every style. I think the foam version would be the perfect T-shirt bra, especially for those of us that prefer a natural booby, shape.

Final Thoughts on the Jordy Bralette
I love it and I want to run away into the sunset with my new bra. I found it way easier than expected. Really just a two-day project. In retrospect, the lace overlay version was not the best option for my first attempt but it turned out very wearable regardless. I think that ordering the bra kit for my first attempt was super helpful. I feel confident that I could now hunt for supplies in my local sewing store.
The issue that I had with cup sizing is something that I want to play around with in future. I would love to see a tutorial on how different bust shapes benefit from different cup placement as I’m not sure that my placement was correct. Choosing between rounding up or down probably depends on what materials you are using. The first time I wore the bra I noticed some double boob action but by the second wear, the bra fits a lot better. This would be a great project to force yourself to work on slowly with the utmost finesse. I can’t wait to try it again!